It’s no secret that energy-efficient lighting is a great way to save money and help the planet.
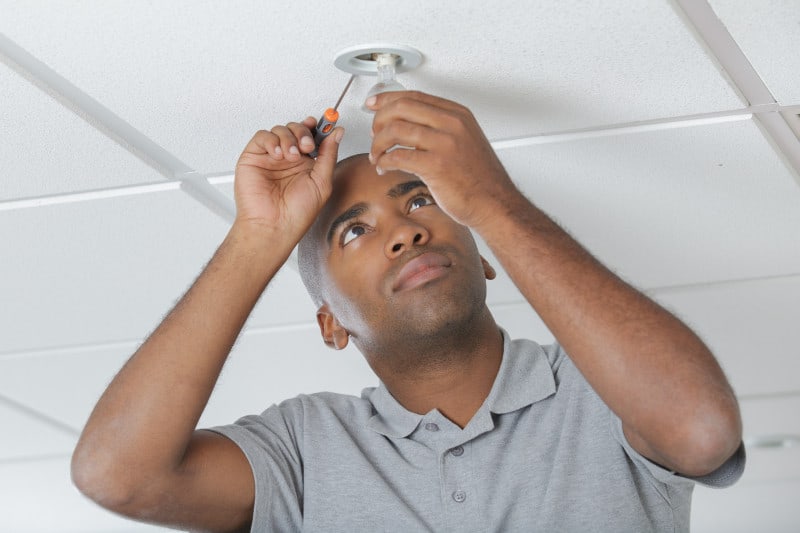
Installing energy-efficient lights in recessed fixtures can help you to do just that – and it’s easier than you may think!
In this article, I’ll be taking you through the process of installing energy-efficient lights in recessed fixtures, so you can start saving on your electricity bills and doing your part for the environment.
With just a few simple steps, you’ll be well on your way to having more eco-friendly lighting in your home!
Types of Bulbs For Recessed Fixtures
When it comes to installing energy-efficient lights in recessed fixtures, there are a few options to consider.
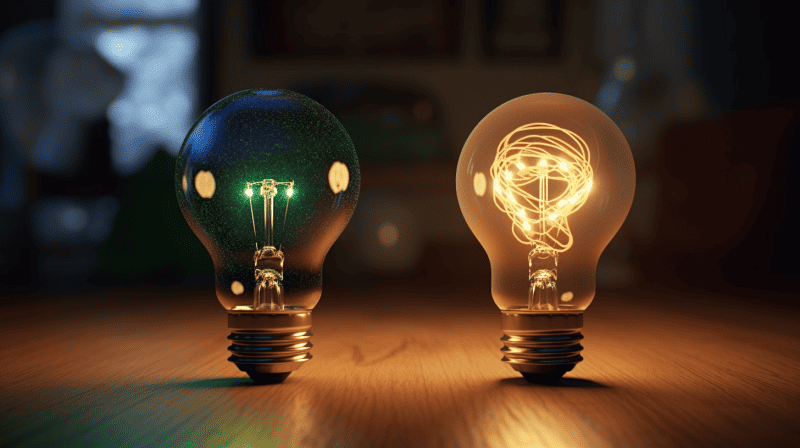
LED bulbs are the most popular choice for this application due to their impressive energy savings and long lasting performance.
Compared to traditional incandescent or halogen bulbs, LEDs can reduce your electricity costs by up to 80%, and they last up to 25 times longer.
Plus, LED bulbs don’t contain hazardous materials like halogen bulbs do which makes them better for both indoor air quality and the environment.
Another option is compact fluorescent lamps (CFLs), which are available in a variety of shapes and sizes.
They tend to be more affordable than LEDs but they don’t perform quite as well when it comes to saving energy or lasting as long as LED bulbs do.
CFLs also contain mercury, so you should take proper precautions when handling them or disposing of them.
Light emitting diodes (LEDs) produce directional light which is great for providing task lighting in specific areas like kitchens and bathrooms.
They use much less power than other types of lighting and come in a variety of colors temperatures so you can customize the look of your space while still seeing energy savings on your electricity bill.
Preparing the Fixture for Installation
When it comes to installing energy efficient lights in recessed fixtures, the preparation is key.
Just like a cook who needs the right ingredients for success, a successful lighting installation requires choosing the right fixtures and connecting the wiring correctly.
As Benjamin Franklin famously said, “An ounce of prevention is worth a pound of cure” — and this is especially true when it comes to electrical work!
First things first: Let’s start with choosing your fixtures.
When buying your new light fixture, make sure you get one that fits the size and style of your existing fixture.
You should also double-check that you have the correct wattage bulb and be sure to read the instructions included with your new light fixtures so you know exactly how to install them properly.
Once you have chosen your fixtures, you can move on to connecting the wiring.
It may seem intimidating at first but don’t worry; as long as you follow safety measures and read all instructions carefully, this step should be relatively easy.
Make sure to use gloves when handling wires and avoid splicing or cutting any wires as this can cause some serious damage!
After everything is connected correctly, double-check all connections before turning on the power to ensure safe operation and avoid any potential risks or hazards.
Installing the Lights
First, you’ll need to plan out your lighting layout.
Make sure you know which switches will control which areas.
Then, you’ll need to prepare the wiring connections. Be sure to turn off the power before making any connections.
Next, it’s time to install the lamps.
Carefully place each fixture into its location and secure it with screws or clips. Connect the wires according to their colors and make sure they are all firmly attached.
Attach the trim of your choice onto each fixture and turn the power back on.
It may take a bit of time upfront but installing energy-efficient lights in recessed fixtures is definitely worth the effort!
Not only will you save money on electricity costs but you’ll also be doing your part for a better environment!
Testing The Lights
Now that you’ve installed the energy-efficient lights in your recessed fixtures, it’s time to test them out.
For example, let’s say you’ve just completed a project at a popular local cafe, replacing all of their old light bulbs with energy-efficient bulbs that will save the cafe money on their electricity bills while still providing enough lighting to keep customers happy.
Here are three things to check before calling your project complete:
- Power Check
- Ensure all connections are tightened properly and no wires are exposed.
- Test each bulb by turning them on and off multiple times.
- Use a voltage tester to check if power is being supplied correctly.
- Bulb Selection
- Make sure the bulbs you’ve chosen fit the socket and aren’t too large or small.
- Consider dimmable lighting options depending on the area you’re installing them in.
- Look for any labels indicating wattage or lumen output so you can ensure you’re using energy-saving bulbs.
- Visual Inspection
- Check for any signs of damage or wear on the lights or wiring around them.
- Double check that all screws and other fasteners are secure and won’t come loose easily over time.
- Give everything a good once-over from various angles to make sure everything looks neat and tidy.
Once you’ve ensured all of these points have been met, your energy-efficient light installation project is complete!
Troubleshooting Common Issues
When installing energy-efficient lights in recessed fixtures, there are several common issues you may encounter.
One issue is that the light flickers or doesn’t turn on.
This could be due to a few factors: the bulb may not be screwed in properly, there may be an issue with the circuit, or the bulb itself could be faulty.
Ensure that the bulb is correctly seated in the fixture and try replacing it with another bulb to see if the issue persists.
If the problem continues, it may be a larger electrical issue, such as faulty wiring or a problem with the fixture itself, which may require professional assistance.
Another common issue involves dimming functionality.
Energy-efficient lights, like LED bulbs, often offer dimming capabilities, but not all are compatible with traditional dimmer switches.
If you’re experiencing problems with dimming, first check whether your LED bulb is indeed dimmable.
If it is, but you’re still encountering issues, the problem might lie with your dimmer switch. Older dimmer switches may not work with modern LED bulbs.
In this case, upgrading to a LED-compatible dimmer switch would solve the problem.
Thermal protection could also cause intermittent or no lighting at all. Some recessed fixtures have a built-in thermal protection device that shuts off the fixture when it gets too hot.
Energy-efficient bulbs, while generally cooler than incandescent bulbs, can still generate heat, especially in enclosed fixtures.
If your bulb is turning off after being on for a while and then coming back on later, thermal protection could be the cause.
To rectify this, ensure there’s sufficient airflow around the fixture, or consider switching to a lower wattage bulb.
Through these examples, it’s clear that while energy-efficient lighting offers many benefits, it’s not without its challenges.
However, with a little knowledge and troubleshooting, these common issues can be easily managed.
Conclusion
Installing energy-efficient lights in recessed fixtures is a simple and effective way to save money on electricity bills while contributing to a greener environment.
LED bulbs are the preferred choice due to their significant energy savings and long lifespan, as well as their absence of hazardous materials.
By following the proper installation steps, including selecting the right fixtures and connecting the wiring correctly, homeowners can easily achieve more eco-friendly lighting in their homes.
Thorough testing and troubleshooting can ensure that the installation is successful and any common issues are resolved.
With the benefits of energy efficiency and the ability to overcome challenges, embracing energy-efficient lighting is a worthwhile endeavor for both financial and environmental reasons.

